Learning how to use scrapy and the power of python and webscraping to gather data is no easy task. This tutorial will teach you the basics of working in scrapy, as well as providing you with hands on experience with webscraping by scraping the BrainyQuote website. Lets get into creating your first webscraper!
Getting started
First, create a folder on your computer where you will store your code. Name this file "QuotesScraper". Double click on the file you just created, and then right click and select the "Open with Visual Studio Code" option.

Installing Dependencies
To start, we first need to install some key dependencies. For this tutorial we will be using Visual studio code. If you have not yet installed visual studio code, click on this link https://www.youtube.com/watch?v=dNFgRUD2w68. You also need to install scrapy via pip. To do this, make sure you have selected a python interpreter (you can use ctrl + shift + p on windows). Click on "Terminal" on the top left hand side of the visual studio code application. After that, click "New Terminal", and then enter the command: pip install scrapy
Starting the project
In your terminal, enter the command: scrapy startproject QuotesScrape This will create a "QuotesScrape" directory which contains key files for this project.
Creating the Spider
In your terminal, enter the command: scrapy genspider BrainyQuote https://www.brainyquote.com/topics/valentines-day-quotes This will create a spider named "BrainyQuote.py" under "QuotesScrape/spiders/".
Allowed Domains
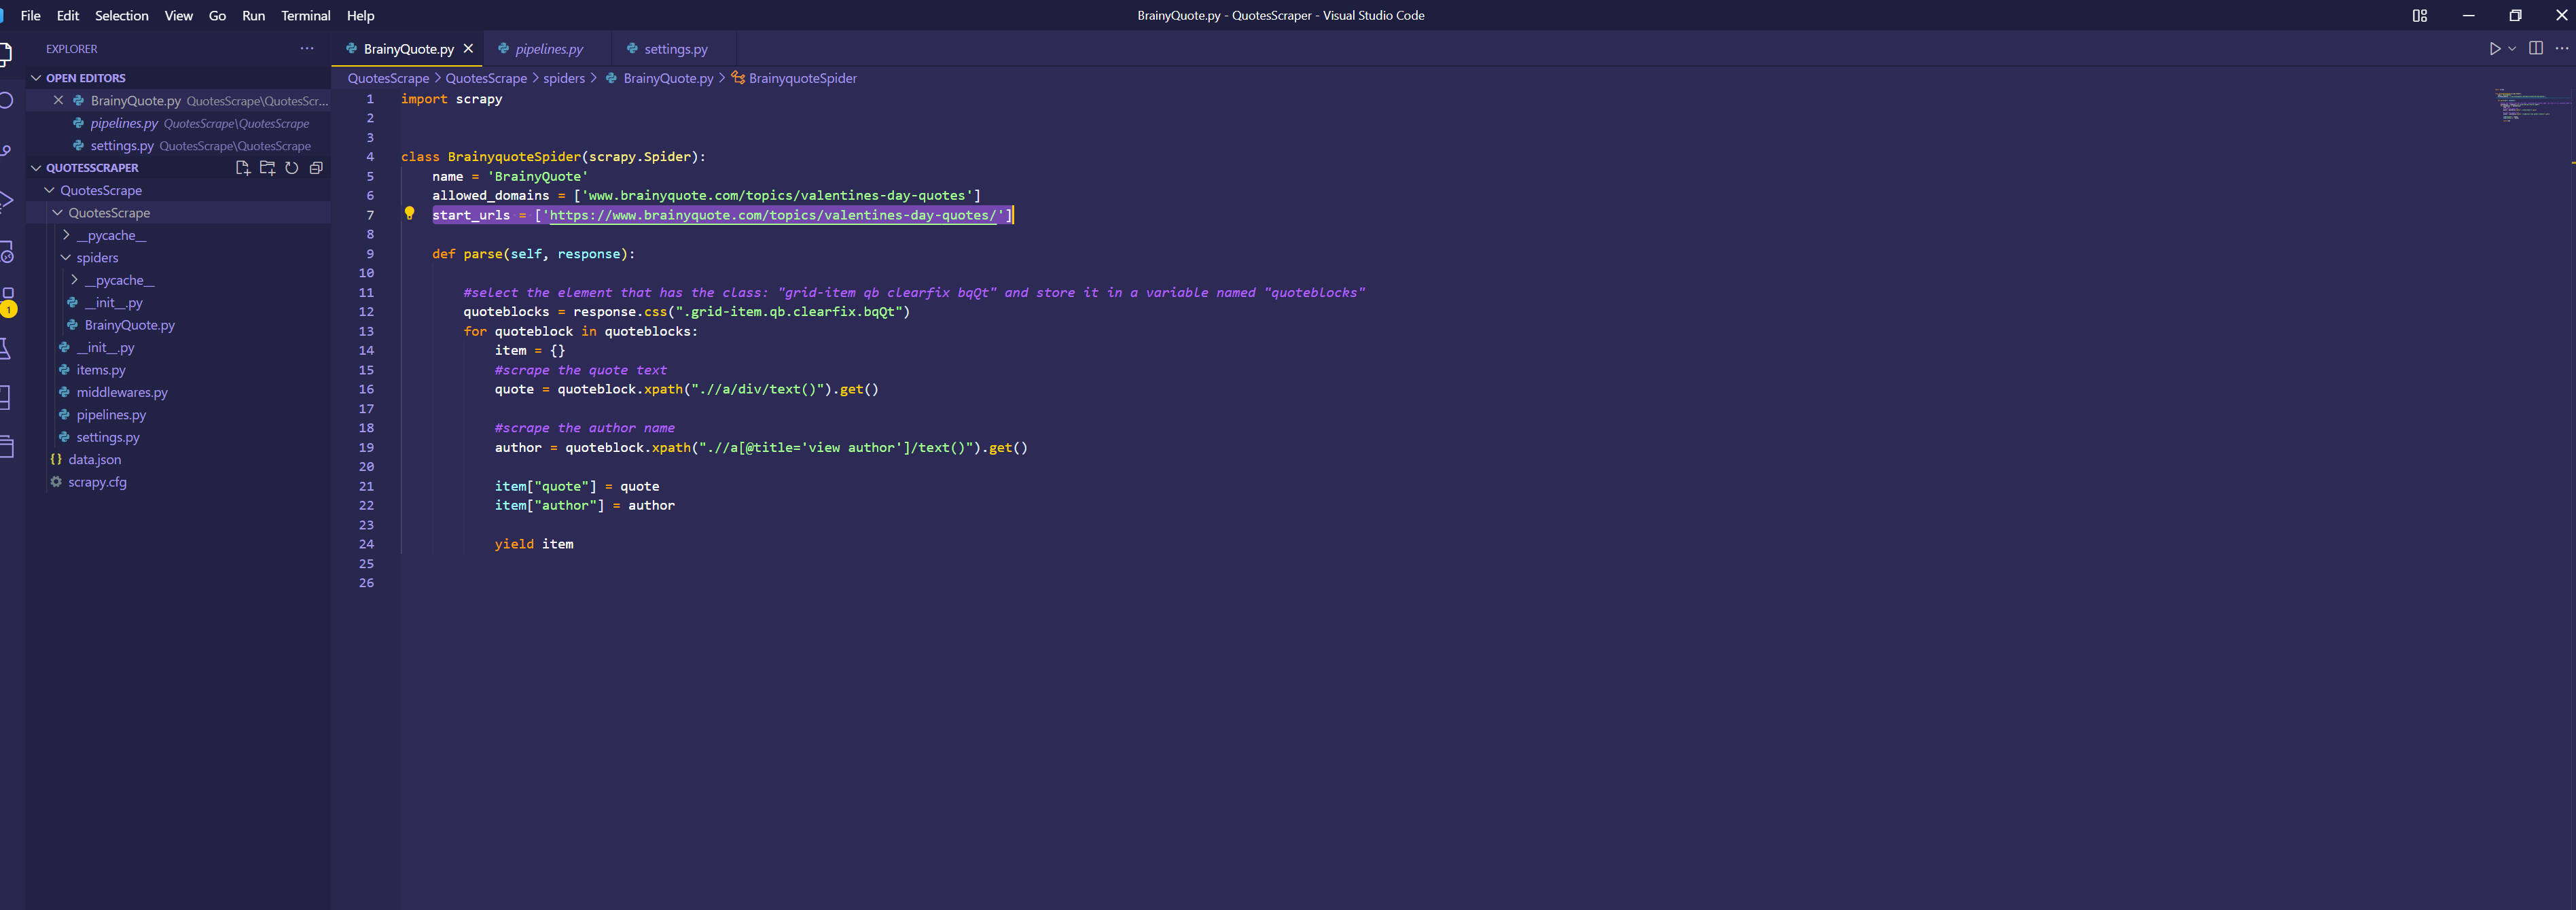
Click on the BrainyQuote.py file and make sure that the "allowed_domains" and "start_url" variables matches what is in the image below.
Spider Code
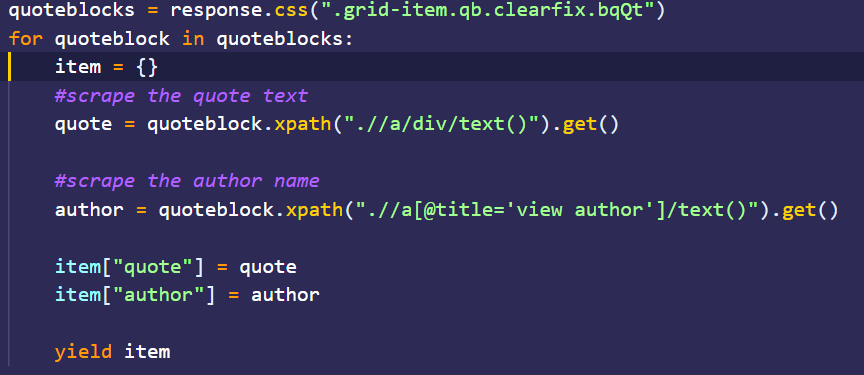
After this, enter this code shown in the image below:
Here,
quoteblocks = response.css(".grid-item.qb.clearfix.bqQt")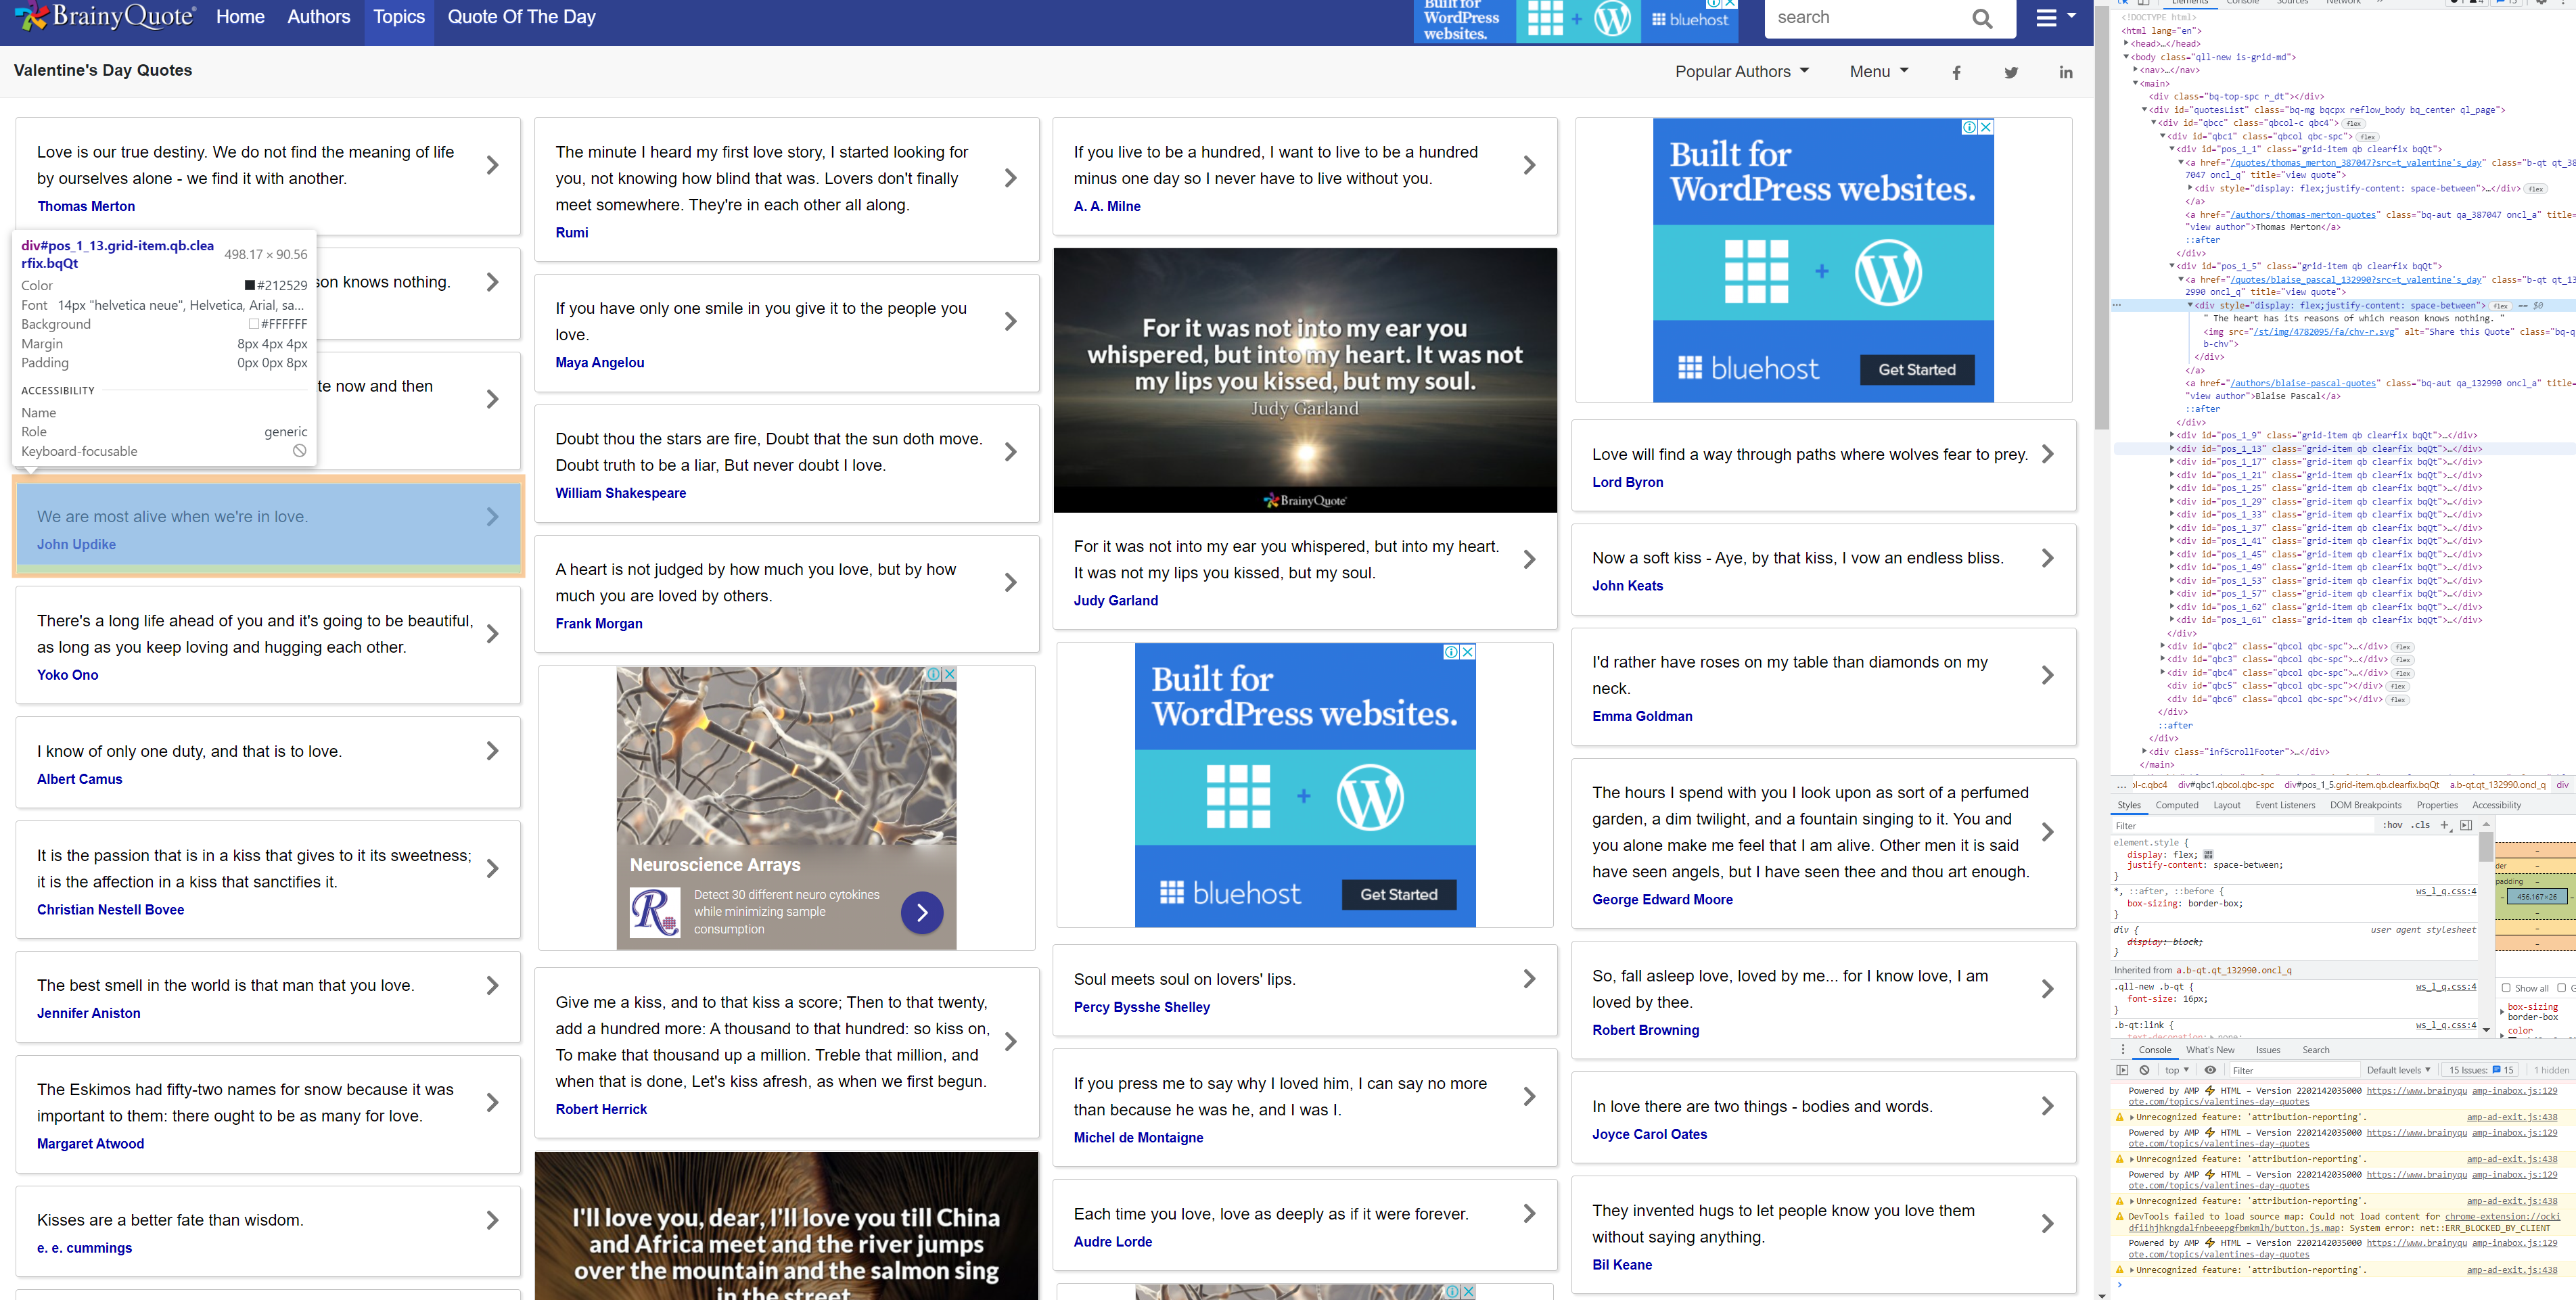
for quoteblock in quoteblocks:

item = {}

#get the quote text

quote = quoteblock.xpath(".//a/div/text()").get()


#get the author name

author = quoteblock.xpath(".//a[@title='view author']/text()")


item["quote"] = quote

item["author"] = author


yield item
We use a for loop to loop through all the quotes we have selected to extract information from them. We then initialize a dictionary named "item" where we will store the information about each quote and its author. We use a xpath selector on each quoteblock. Using quoteblock.xpath() allows us to select elements inside of the quoteblock easily. The xpath selector ".//a/div/text()" selects the first a element inside each quoteblock, and then selects the first div element inside the a element, and finally selects the text node (which contains the quote). Note that this only selects the text node and does not return the text inside as a string. To do this we have to use the .get() method.
Selecting the Author
To scrape the name of the author from each quote, we use the following line of code:
author = quoteblock.xpath(".//a[@title='view author']/text()")
item["quote"] = quote
item["author"] = author

yield item
Launching your spider
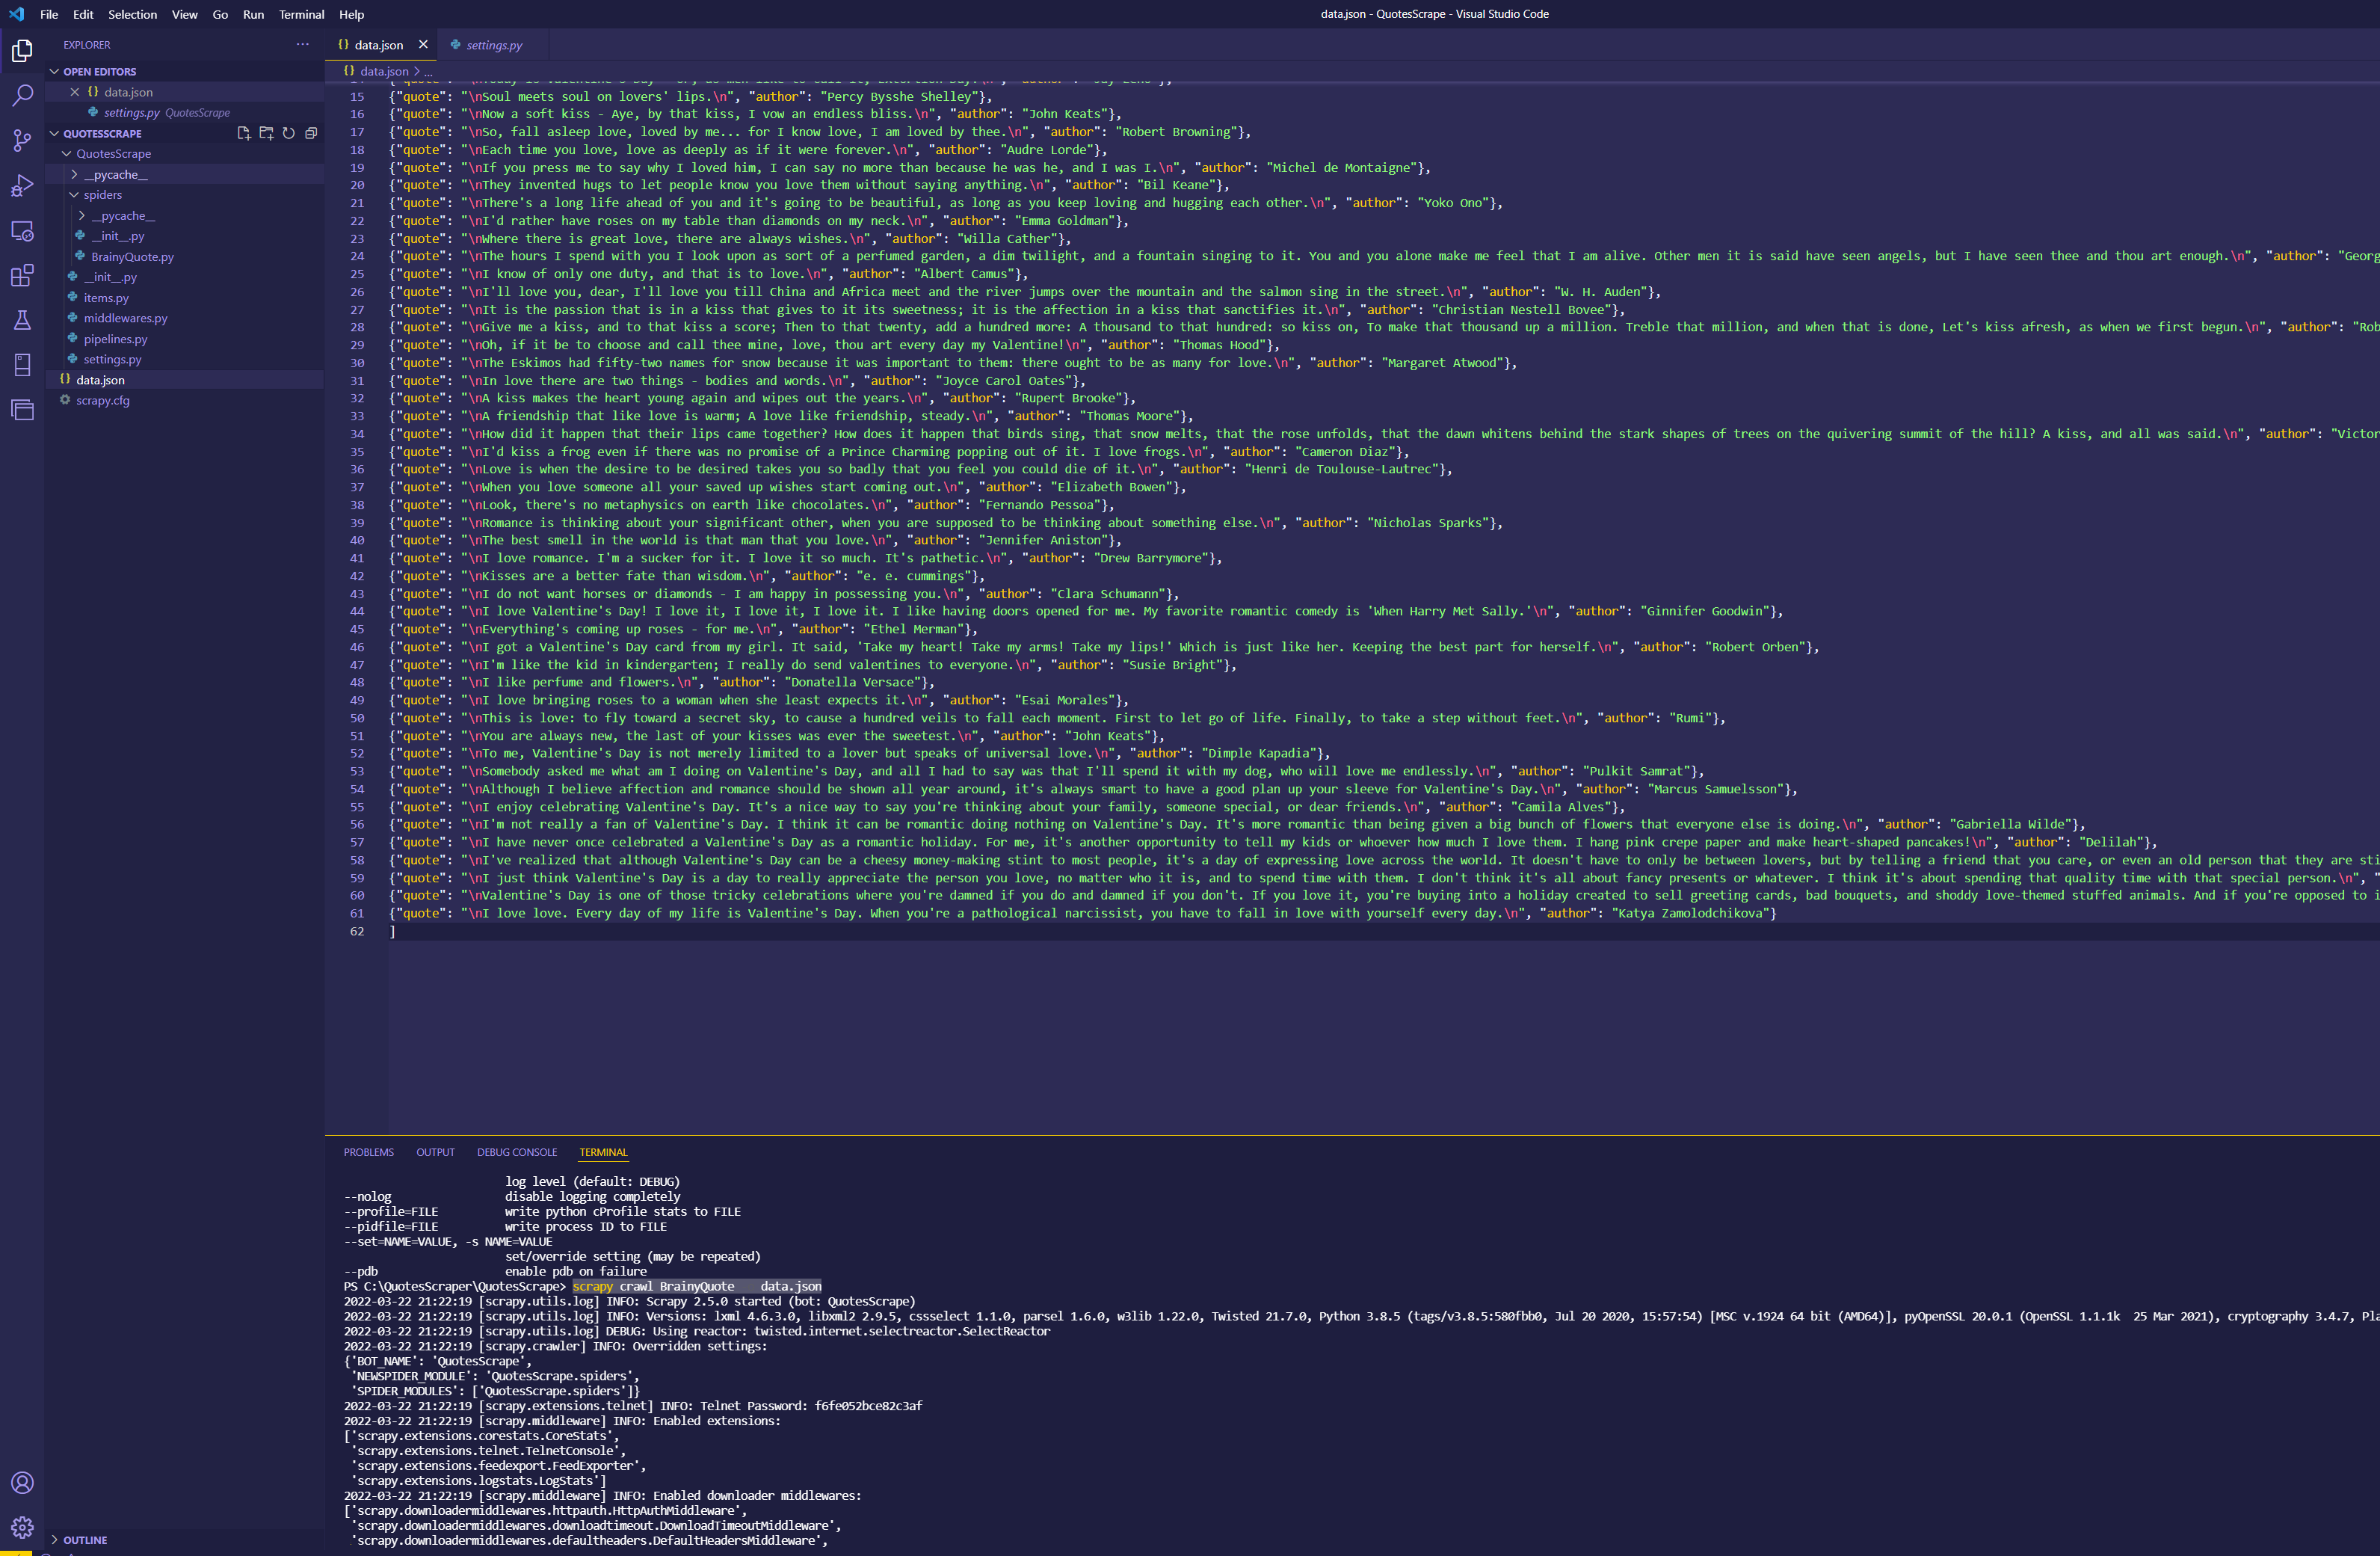
Almost done! To launch your web crawler, first, navigate to QuotesScrape/QuotesScrape/spiders/settings.py, and set the parameter "ROBOTSTXT_OBEY" to "FALSE". (This will prevent your crawler from getting blocked. However, please follow responsible scraping practices and dont send too many requests at once). After you have completed this step, go to the "BrainyQuote.py" file and Open a new terminal ("Click on the terminal button on the top left hand corner") and Type: scrapy crawl BrainyQuote -o data.json. You should now see the scraper fully working, and all of your scraped data inside a file named data.json!
Recommended Next:
How to use .replace() method in Python